October 26, 2010
Windows Movie Maker Animation
Now that you have your 100 images to create your first animation, you need to use Windows Movie Maker to make them into a little movie. Here’s how you do it:
1. Open Windows Movie Maker under programs.
2. Under Capture Video, click Import Pictures and select all of your animation images.
3. Click Tools->Options->Advanced. Change the Picture and Transition duration to about 0.25 seconds.
4. Select all of your pictures from the collections board and drag them down to the storyboard at the bottom.
5. Now you can see how they look as a movie when you click the play button.
6. Under Edit Movie, click View video effects. Check them out. Add any of them to your pictures by dragging them down to the storyboard.
7. Go to Edit Movie -> Make titles or Credits. Create a Title Slide with the Title of the animation. Create Credits at the end:
Created by ______________
for Computer Arts
Miss Waggoner
Seward High School
Seward, Alaska
2010
Music: This Song by This Person
8. Add music! Go to this site for free music. This site is really easy to search and the music is all copyright free. Once you have the mp3 file, click Import audio or music under Capture Video. Once you have the audio file in the Collections area, cllick Show Timeline on the bottom, and then drag that audio file down into your movie. You can now move it to determine when the sound starts, ends, etc.
9. Finish your movie! Once everything is perfect, you need to save your movie as a Windows Media Player file so that anyone can watch it. Under Finish Movie, click Save to my Computer. Choose to save your movie inthe L drive, under your e number. This is because your movie is a big file that takes up a lot of space. Name your movie with the file name, but don’t include any spaces in the title, for example, save it as kittydream, not Kitty Dream. Click Next, and under Movie Setting, Other settings, choose Video for broadband (512 Kbps). Click Next again, now your movie is saving as a WMM file, this should take a minute or so.
10. Post your movie! On your blog, click Plugins ->Embedded Video -> Activate. Then in a new post, click on the little TV symbol. Choose the tab that says upload video. Find your video in the L drive, and upload it. Click the box that says Show video without link. Save your post and preview it to make sure your video plays!
11. Under your movie, write about your experience in making your first animation and Windows Movie Maker. What did you learn? What did you like? What didn’t you like?
October 19, 2010
Stop Motion Animation!!
Stop motion (also known as stop action or frame-by-frame) is an animation technique to make a physically manipulated object appear to move on its own. The object is moved in small increment and photographed. The photographs are played as a series of frames in a continuous sequence. Think of the concept of a flip book. This moving penny stop motion animation was made with 21 photos.
Here are some more examples:
Monty Python Terry Gilliam Intro
MUTO a wall-painted animation by BLU
Her Morning Elegance / Oren Lavie
We are going to make our own stop motion animations using Adobe Photoshop and Windows Movie Maker. The idea is, start with a photo, save it in a folder as 1. Move something a little bit or make a little change, then save it as 2, and so on. Your canvas size should be 4 x 6 inches. In the end you will have 100 photos. I know this sounds like a lot but I will give you time to do it, and 100 photos will only last about 2 minutes once you play it like a movie.
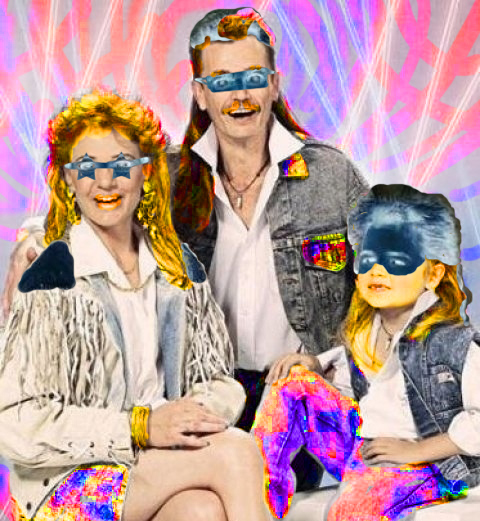
Some ideas: make objects move. Make eyes move, make mouths open and close. Make things appear to come closer/move away by making them bigger/smaller. Change the background, change the colors, moving text… Anything that you can think of! Be creative, have fun, make an awesome movie! I could make this assignment more detailed, but I want to give you freedom to make whatever your mind can imagine! I would reccomend begining with a character (person, animal, object…), and then changing it.
My initial idea was to show an emotion change. So, I started with a sad clown:
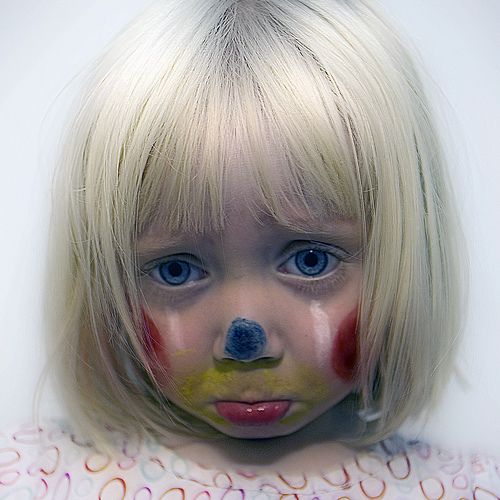
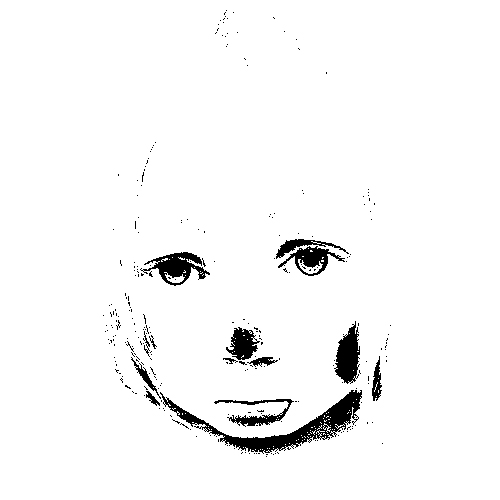
which I changed into this:
Extra Credit Seward High Basket Ball Logo
Mr. Hemstock would like a new logo for the Seahawk Basketball team. This is what he envisions:
A graphic which is a combination of a skull and a basketball, with the text:
Seahawk Basketball
Bad to the Bone

Here is the new logo I made for the wrestling team.
Keep in mind our school colors – green and gold. Also, make the text a part of the design. Make the design at least 5 x 5 inches so that if could appear on t-shirts. For ideas on how to combine a skull and basketball, see what other designers have done by googling skull basketball. Good luck!
October 12, 2010
Project Seven: New Money
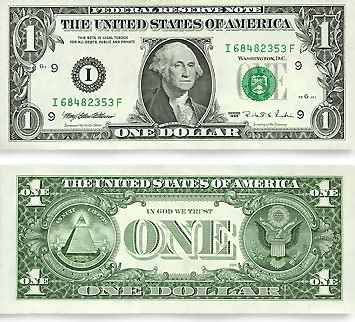
Most countries of the world have developed their own form of paper currency, or bills. Here are some examples:
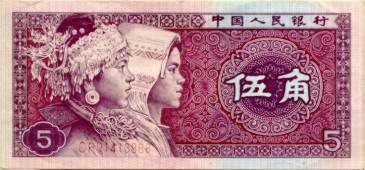
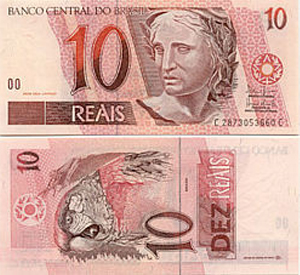

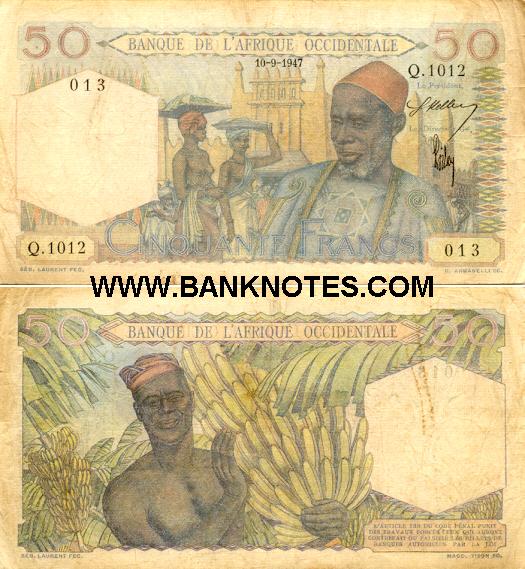
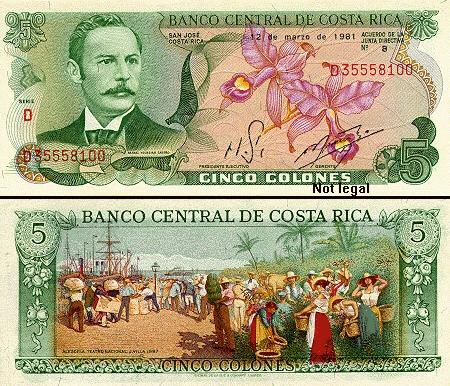
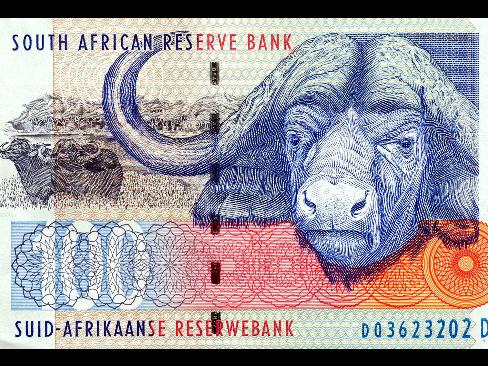
Some people say that, in comparison the United States has boring currency. What do you think?
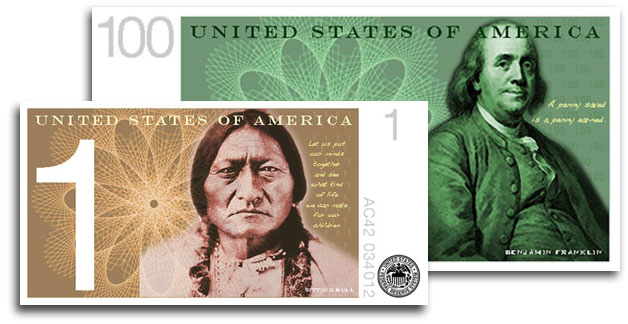
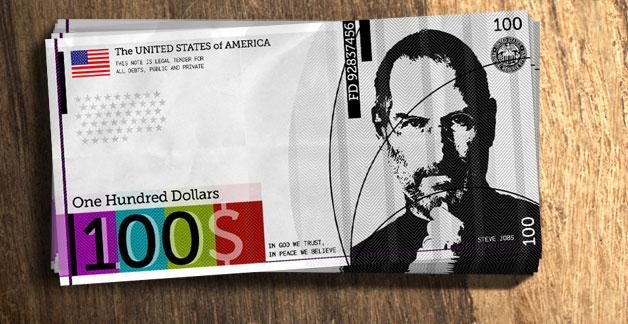
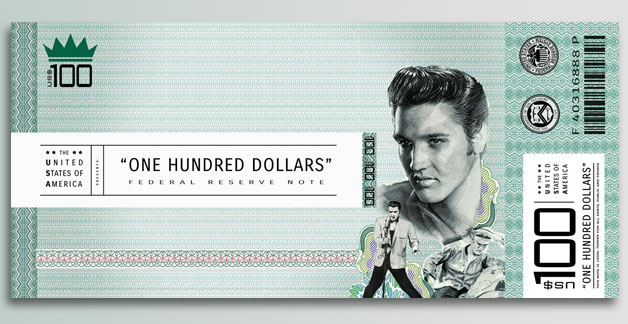
I came upon a website challenging Americans to design new bills, which I thought was a fun idea. Here are some of the designs people came up with:


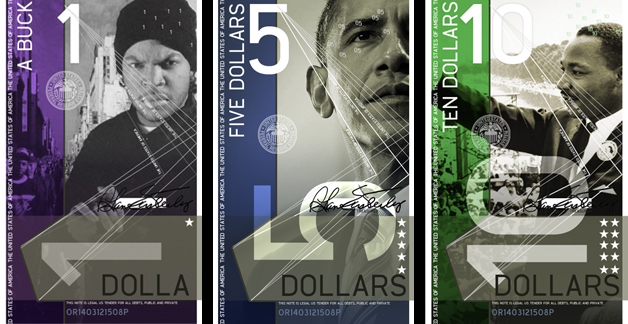
You are going to design a new bill. But first, you need to decide:
Who/what would you put on the a bill to represent the US, and why? You will need to explain your reasons when you post your design. First, brainstorm. What ideas does the US stand for? Life, liberty, and the pursuit of happiness? Ingenuity? Innovation? Integrity? Entrepreneurship? Equality? Arts? Strength? What should our country stand for? Who/What would represent these ideas?
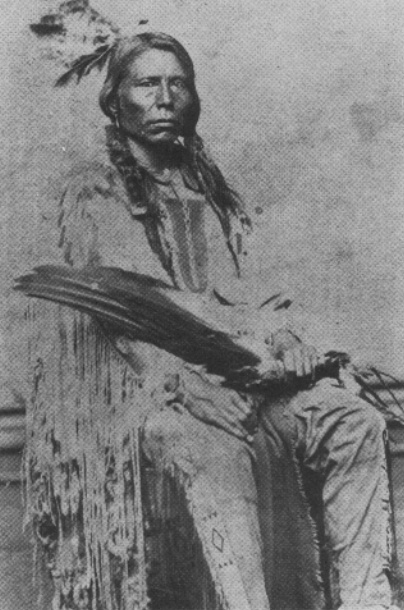
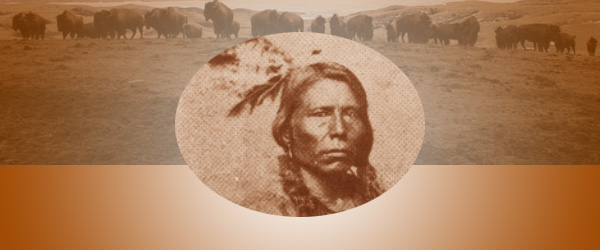
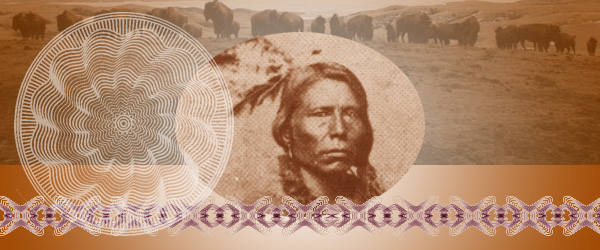
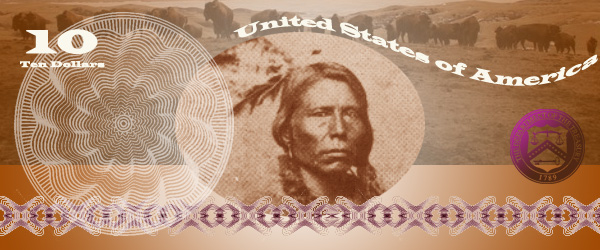
I chose Crazy Horse as my person because he nobly fought for the rights of his people when he felt that they were being treated unfairly by the US government.
1. Decide on the dimensions of your bills. Are they rectangles/squares/horizontal/vertical? Open a new Photoshop document in that shape. Don’t make it too huge, it has to fit in your wallet!
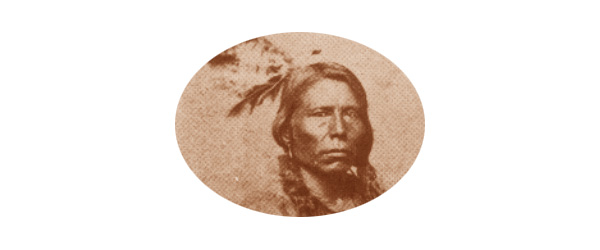
2. You could cut a circle around your person/animal/thing or delete the entire background. Look back at the examples. I cut an oval shape around Crazy Horse using the Circle Marquee Tool.
2. Stylize your person/animal/thing somehow. Suggestions: Anything under Image->Adjust or any Filter. I did Image->Adjust->Color Balance to make Sitting Bull a brownish color.
3. Add a general background to your bill to match the person/animal/thing. I chose a gradient in brown and white:
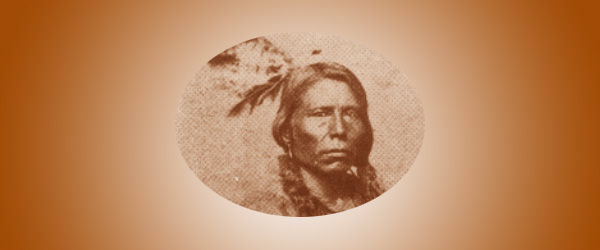
4. Add some other sort of background element, perhaps a place associated with your person/animal/thing? I chose a photo of the Lakota Reservation with buffalo, another American symbol. Adjust the opacity so it fades into the background some and colors to match.
5. A lot of money has lacy floral type patterns called guilloche rosettes. Here are some I found but feel free to find your own:
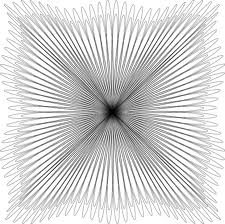
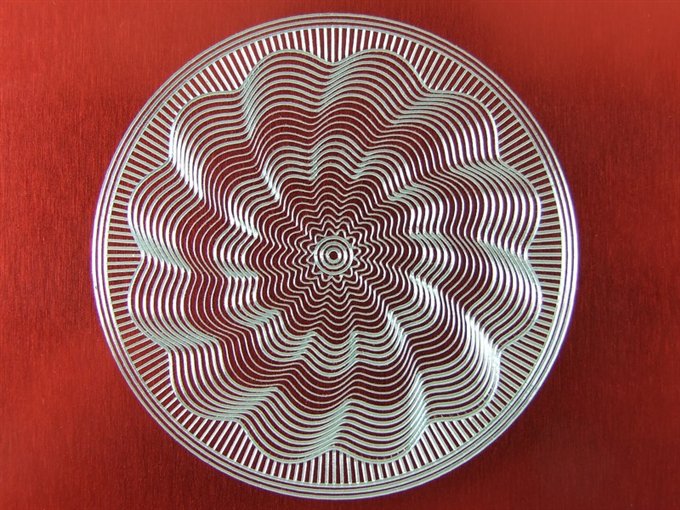

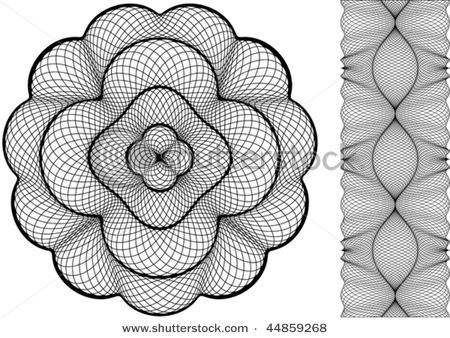
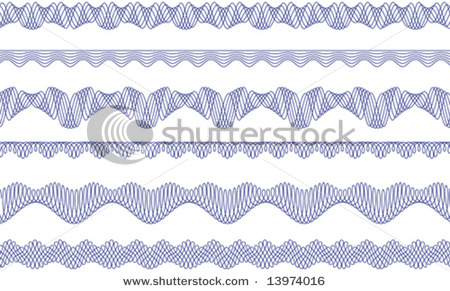
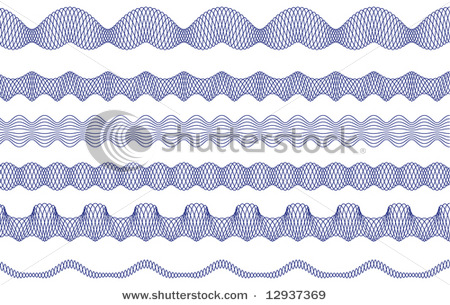
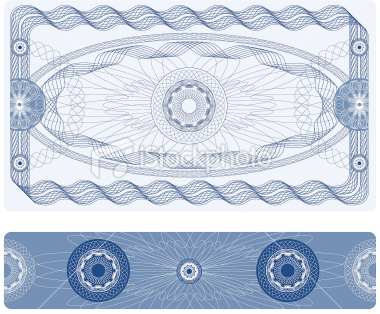
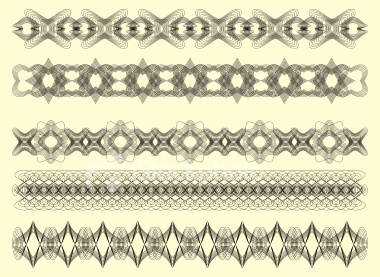

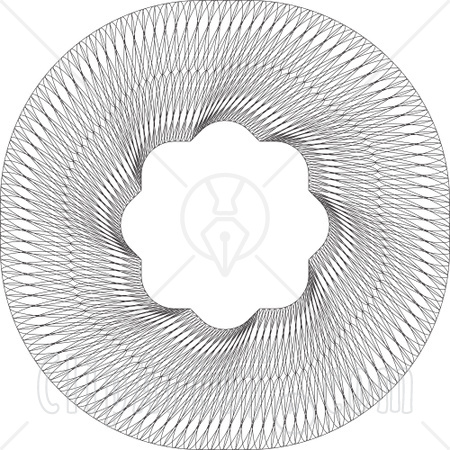
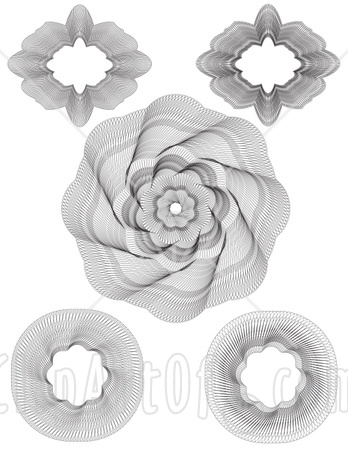
Incorporate one or more of these into your design. Remember, you can always change the color!
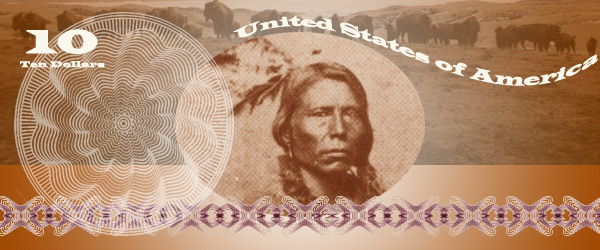
6. There needs to be some information on your bill. Remember, the type is a part of your design, make it look cool!
Amount – both numerically and in English (5, Five Dollars)
Country – United States of America
7. In order for this money to be official, we need the Seal of the US Department of the Treasury. It is used on all U.S. paper currency, and (like other departmental seals) on official Treasury documents. The seal includes a chevron with thirteen stars, representing the original thirteen states. Above the chevron is a balance, representing justice. The key below the chevron represents authority and trust.

Remember, you can (and should) change the seal to match your design! I adjusted mine using Image->Adjust->Threshold, deleted the white, selected the black, and then gave it a purple-brown gradient.
8. Flatten image and post it to your blog. Explain why you chose the person/animal/place that you did to represent the US. What tools did you use in this project? Did you learn anything new? I can’t wait to see what you come up with.
October 7, 2010
Project Six: Scream Yo Opinion!
By the way, you guys are doing great work, I’m impressed…
The new Project:
First of all, pick an issue. What do you feel passionately about? What makes you mad? Here is a list of controversial issues, what side do you stand on? For my issue, I chose health care. I feel that it is way to expensive and that everyone deserves medical help if they are sick.
Your challenge is, how do you convey your message without using words? I want you use symbols. Symbols are all around us, and we understand what they mean. Do you understand the messages of the symbols below?
![]()
1. Find a photo of a person who is screaming and erase the background. I found this girl.
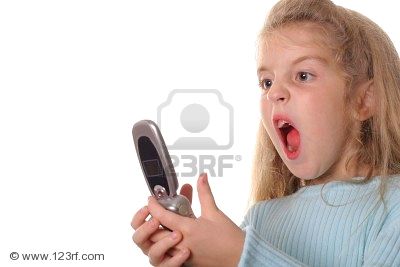
2. Delete the background, and put your screamer in a document where the dimentions add up to about 10 inches, you pick the shape.
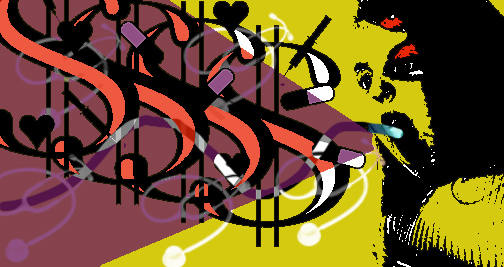
3. Find the symbols to convey your opinion, and arrange them so they seem to be coming out of your screamers mouth. I chose medical symbols and dollar signs. You have to be creative in this part, but make your message clear.
4. Stylize your design in two other ways, and make a Snapshot of each version by right-clicking on the corresponding layer and selecting “New Snapshot.” You are becoming more familiar with Photoshop, so you decide how to change the image, make it look cool! Suggestions are: Desaturate, Posterize and change colors; Invert; Threshold; Hue/Saturation; and any of the Filters.


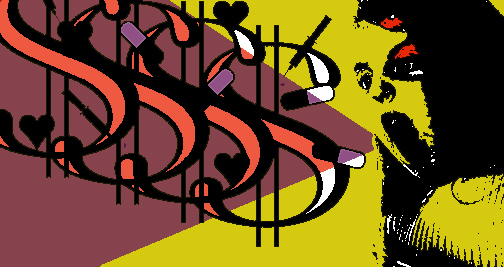
5. History Brush! Chose one of your snapshots to use as your base, and with the history brush draw lines to accent your piece. Think Scream lines. Remember, if your not happy with how your lines turn out, you can always click CTRL Z (undo).
6. Create your own brush with a symbol that has to do with your cause. Delete the background before you select the image to make it a brush. You might have to resize it. I chose a stethoscope. Use your new brush as a history brush as a part of your design.

10. Post it to your blog under Project 6 and write a little something about the experience of creating it.
October 6, 2010
Assignment 8: History Brush Tool
Find a photo from the internet with a detailed background.

1. Invert the image by holding CTRL I
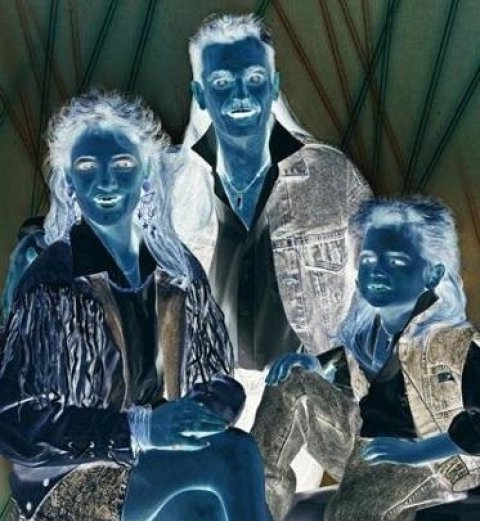
2. Locate the History palette on the right side of your screen. Make a Snapshot of your current inverted image by right-clicking on the corresponding layer and selecting “New Snapshot.”
3. Change your inverted image back to its original state by choosing Edit -> Step Backwards
4. Adjust the Hue/Saturation of your image. Make a Snapshot of your current saturated image by right-clicking on the corresponding layer and selecting “New Snapshot.”
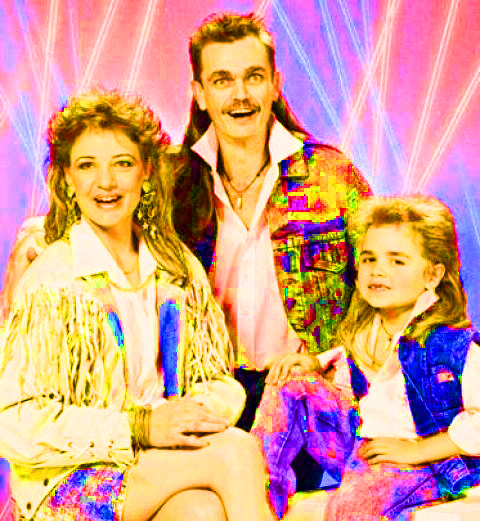
5. Change your saturated image back to its original state by choosing Edit -> Step Backwards
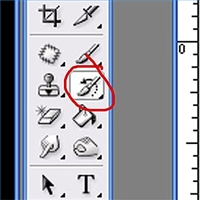
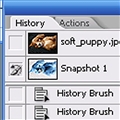
6. Select the History brush on your toolbar. With the brush active, go back to your History palette and click on the tiny box just to the left of the Inverted Snapshot you made earlier. The thumbnail will show the inverted image. A tiny replica of the History Brush will appear in the box. Now, you’re ready to have some fun…
7. Paint over your image to reveal the inverted image under your brush strokes. Vary the effect by adjusting the Opacity and Flow mode settings at the top of the screen as well as your brush size.
8. Change your brush to the Saturated snapshot. Continue painting on the original photo. Try to make it look cool! Be detailed!
9. Create your own brush to decorate your photo with. To begin, either draw a shape in a new document, or open a photo of a new silouette that you want to use as a brush. Select this shape with a marquee tool.
In Photoshop 5.5: Now the image is selected go into the brushes menu, and select ‘define brush’ from the sub menu.
This will add the new photoshop brush to the brushes menu. Photoshop creates a small thumbnail for each new brush. Use it as an art history brush!
In Photoshop 6.0: With your brush shape selected, click Edit -> Define Brush. Use it as an art history brush!
9. Post your image onto your blog under Assignment 8: History Brush Tool. Write about using this tool, as well as creating your own brush.